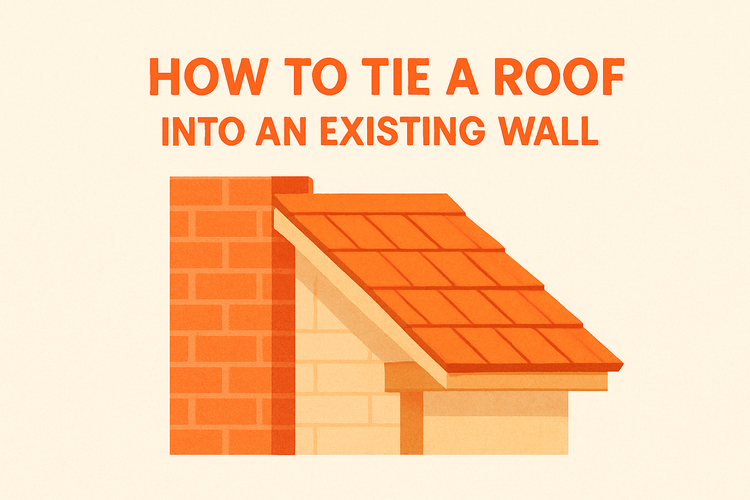
How To Tie A Roof Into An Existing Wall

Understanding the Importance of Proper Roof Integration
Tying a new roof into an existing wall requires more than simply connecting materials. It ensures structural stability and weatherproofing.
Improper integration can lead to water ingress, insulation issues, and even structural damage. When done correctly, it extends the lifespan of your structure by keeping the load distribution consistent and ensuring the new portion of the roof complements the old seamlessly. Investing in the right roof connectors and fasteners is essential to this process.
Planning Your Roof Tie-in Project
Planning is the most critical part of a successful roof tie-in. Begin by evaluating the existing wall structure and roofing style. Determine whether the wall can accommodate additional loads and what type of roof pitch and design will integrate best.
Take accurate measurements and ensure proper documentation of existing layout. It’s wise to consult building codes to ensure compliance, especially when dealing with load-bearing walls. Consider weather exposure and the material compatibility between old and new structures. You’ll also want to pre-select essential connectors such as joist hangers and masonry connectors to streamline the installation process.
Securing Structural Support and Load Distribution
Stability depends largely on how well the new roof’s load is distributed into the existing wall. Reinforce the wall if necessary to bear the additional weight. Use timber or steel beams to carry roof loads efficiently. Cross bracing and rafters should align with the wall's framing system.
Post base brackets can anchor vertical posts securely to ground or concrete bases, helping transfer weight from the roof through a stable support system. High-quality angled tie-ins, such as high wind ties and timber connectors, offer added protection in exposed areas. This ensures the roof addition won’t shift or sag over time, especially in high wind environments.
Connecting New Roofing to the Existing Wall
This stage involves cutting back the wall cladding or stucco to slot in new flashing and ties. Clean the wall surface thoroughly, then install a flashing system to prevent water leakage at the joint between the roof and the wall.
Use wall starter profiles to bridge new wood framing into masonry or block wall surfaces efficiently. For timber frame work, utilize timber frame connectors that offer secure attachment points, minimizing movement and warping. The overlap should be watertight and mechanically fastened, with ample sealing to accommodate seasonal expansion and contraction. Careful detailing at the juncture will prevent common issues like leaks, rot, or pest ingress.
Fastening and Finishing Strong Joints
Strong joints depend on the correct choice of fixings and their application. Reinforce all meeting points with reliable fasteners, selecting corrosion-resistant types suited to your materials and climate.
Secure roof rafters and trusses with robust screws and nails to ensure long-lasting union with existing structures. Brackets like angle brackets add rigidity and strength, especially at corner transitions. Finally, seal all joints with weather-grade sealants, check flashing integrity, and test for leaks before finalising insulation and cladding. Your roof tie-in will not only look seamless but also function as one coherent structure for years to come.
