How To Secure Fence Post Using Post Base
Selecting the Right Post Base for Your Fence
Choosing the appropriate post base is the first step in ensuring a stable and long-lasting fence. A suitable base anchors your post securely while reducing exposure to moisture and ground corrosion.
Post bases are available in several types, including surface-mount, adjustable, and embedded varieties. Your selection depends on factors such as the type of surface you’re mounting to—concrete, wood, or soil—as well as the size and weight of the fence. For residential fencing, surface-mount post bases are commonly preferred due to ease of installation and compatibility with existing concrete pads or decks. When shopping for high-quality and durable options, browse the Post Base collection for a range of options suitable for different fence types and environments.
Preparing the Installation Area
Once the post base is selected, preparation of the installation area ensures a smooth and effective setup. Clearing the area of debris is essential.
Start by marking the exact position your posts will go using string lines or chalk to maintain alignment. If you're mounting on concrete, check for cracks or uneven surfaces that could impact stability. Level the surface and clean any dirt or oil. For soil-based installations, dig a hole to accommodate your post base or concrete footing as necessary. Ensuring solid support beneath the base is critical; compacting gravel or backfilling with concrete adds extra strength to the structure.
Always use quality hardware and accessories such as Angle Brackets or Timber Frame Connectors to further reinforce each base during installation. This added support offers better resistance against wind and weight shifts over time.
Installing the Post Base
With a prepared surface and materials ready, the installation can proceed efficiently. Attaching the post base securely is key.
For concrete surfaces, drill anchor holes that align with your post base’s pre-drilled slots. Use anchor bolts or concrete screws to lock the base in. It’s advisable to use galvanised or stainless-steel fasteners to prevent rust from weakening the connection. On wooden decks, lag screws combined with structural washers may provide better hold. Ensure all fasteners are sunk flush to avoid any obstruction or play when inserting the fence post.
Double-check vertical alignment before final tightening. Installing each post base with precision avoids cumulative misalignment further down the fence line. Before continuing, allow adhesives or poured concrete footings to fully cure per manufacturer guidance. This ensures the base won’t shift during post installation.
Securing Fence Posts into the Base
After mounting the post base, the next step is inserting and fixing the fence post. This secures the structure and ensures it remains upright through varied weather conditions.
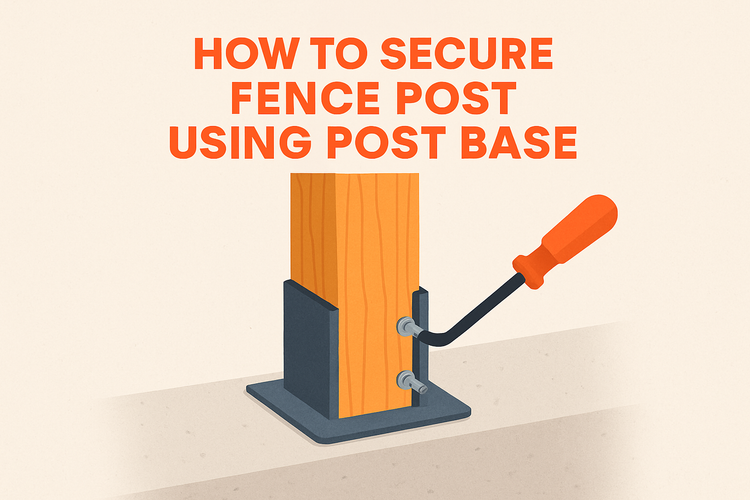
Slide the post into the socket of the base and check the upright position using a spirit level. For adjustable post bases, fine-tuning becomes easier with screw mechanisms typically available in the mount. Once confirmed level, fasten the post to the base using structural screws or bolts provided in post base kits. Using compatible screws and nails ensures no compromise in joint integrity. Ensure the fasteners used are corrosion-resistant to avoid wood staining or premature failure.
Extra lateral reinforcement can be added with metal plates or Restraint Straps, especially in windy locations or where higher load bearing is expected. These measures help distribute stress evenly and protect against baseplate separation over time.
Finishing Touches and Maintenance
Once all fence posts are installed, completing the setup with protective measures improves durability. A properly finished fence not only performs better but also enhances visual appeal.
Apply a weather-resistant sealant or paint at the base of the post, where wood meets metal. This seals the end grain from moisture absorption, a common cause of rot. Consider adding trim to cover the connection point for added aesthetics. Periodically inspect the posts—especially around the base—for rust, loose hardware or shifting. Retighten screws and replace any components exposed to excessive wear.
Preventative maintenance such as cleaning debris from around the base and repainting exposed metal can significantly extend the service life of your fencing system. Leveraging additional supports from categories like Timber Frame Connectors or Angle Brackets further strengthens your setup against structural fatigue over time.