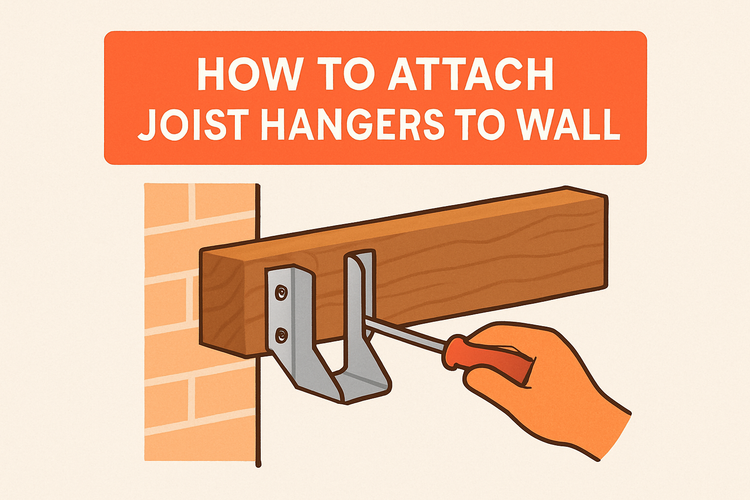
How To Attach Joist Hangers To Wall
Choosing the Right Joist Hanger for Your Wall Application
Before starting installation, it’s essential to select the appropriate joist hanger for your project. Not all walls and loads require the same hanger, so understanding your specific needs ensures structural integrity.
Joist hangers come in various shapes and load classes to match the dimensions of the joists and the way they attach to the wall. A correct match offers better support and prevents structural instability over time. Review weight capacity guidelines and verify measurements before purchasing. The type of wall—masonry or timber—and whether the load is horizontal or downward will affect your choice. For timber-framed walls, standard joist hangers commonly provide a safe and robust solution.
Additionally, some applications may benefit from corrosion-resistant finishes or heavy-duty reinforcements. In environments with higher moisture levels or exposure to outside elements, using galvanised or stainless steel joist hangers helps prevent deterioration, ensuring longevity of the connection. Choosing the right product from the beginning not only secures your build but avoids costly corrections later.
Marking and Preparing the Wall Surface
Accurate preparation is key to a secure and even installation. Begin by clearly marking the desired position of each joist.
Use a level and tape measure to mark consistent heights for all hangers. This maintains a uniform floor or ceiling plane and avoids uneven surfaces. When dealing with timber or block walls, be sure to clean the surface of any debris for a flush fit. It’s also important to check for loose block or mortar joints in masonry walls and repair them before affixing hardware.
Pre-drilling pilot holes at the marked locations can also help ensure screws or nails hold more securely. This is especially true for older or more brittle wood surfaces. For walls incorporating other structural connectors like wall starter profiles, coordinate the layout to avoid clashes and ensure load paths remain uninterrupted. Proper alignment and clean surfaces maximize the contact between your joist hanger and the wall, which is vital for load transfer efficiency.
Securing Joist Hangers to Timber Walls
Attaching joist hangers to timber walls is generally more straightforward than to masonry, thanks to the ease of fastening and good material compatibility.
Begin by placing the hanger along the previously marked line and securing it using strong structural screws or nails. Use a proper fastener type compatible with both the hanger material and timber; this helps resist withdrawal forces and shear stresses. Most screws and nails designated for structural use are pre-validated for load-bearing applications, so ensure the specifications match your design needs.
Once the hanger is temporarily fixed, use a level to double-check its vertical alignment. Gradually drive in the remaining screws or nails, making sure all holes in the hanger are filled for optimal strength. You want to avoid overdriving nails, which can weaken the metal and reduce their pull resistance. In some situations, supplementary support like timber frame connectors can enhance long-term stability and performance.
It’s also advisable to use hangers with side flanges when installing into timber, as the side-mounted connection improves lateral stability. In longer spans, additional support from devices like restraint straps can prevent twisting or sagging under dynamic loads. The overall goal is to create a stable, triangulated structure that resists both vertical and lateral forces.
Attachment to Masonry Walls: Additional Steps
Fixing joist hangers to masonry walls demands a few more considerations due to the different working properties of stone, brick, and concrete.
You will typically begin by selecting joist hangers designed for face mount on masonry, sometimes called weld-on or bolt-on hangers. Mark the location of each hanger using a spirit level to maintain alignment across the surface. Use a hammer drill to create fixing holes based on the anchor size recommended by the hanger manufacturer. It’s vital that your chosen masonry anchors or set bolts match the wall material and achieve deep-set anchorage.
Due to vibration from drilling and general wall condition, inspect holes for cracking or spalling and clean them of any dust prior to inserting anchors. These issues can compromise the overall performance of the connection. Use expansion bolts or masonry screws to secure hangers into the wall, then install the joist into the pocket while checking for level and square. In some cases, particularly with older or uneven walls, a timber ledger board bolted to the masonry can serve as both a straightening aid and load distributor.
To further stabilize the joist and ensure safe load transfer, supplementing with angle brackets or high-strength ties is recommended. This reinforcement becomes especially important in seismic or high wind areas, as it helps counteract both vertical pull and lateral movement over time.
Testing and Maintenance After Installation
Once all joist hangers have been installed and the joists are seated, it’s important to inspect your work thoroughly before continuing with construction.
Begin your inspection by checking that each hanger is fully fastened using all designated holes and that none of the fasteners are loose or over-driven. You should also check that each joist fits snugly in its hanger without wobble or lateral play. Give each joist a light shake to simulate minimal dynamic movement and listen or look for signs of looseness or deflection. Where needed, reinforce the hanger with supplemental fixings or additional bracing from hardware like high wind ties.
While initial installation is important, keeping your connections in optimal condition requires periodic inspection. Over time, timber may shrink or shift slightly, especially in climates with high humidity or dramatic temperature fluctuations. Examine connections annually for separation, corrosion, or loosening. If exposed outdoor conditions are involved, use treated hangers or re-seal fixings to protect from rust and deterioration. Maintaining healthy joist hanger systems helps ensure the overall safety and longevity of your structure, particularly in load-sensitive or high-traffic areas.