How Do You Install Joist Hangers

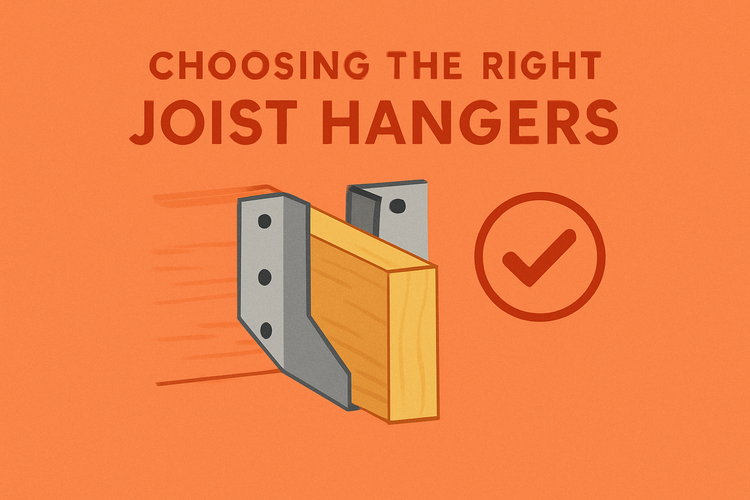
Choosing the Right Joist Hangers
Before installation begins, selecting the correct type and size of joist hanger is a crucial step. Not all hangers are created equal, and different construction types require specific models to ensure structural integrity.
Joist hangers come in various styles, including face mount, top mount, and skewed hangers. The type you need depends on the direction your joists run and the kind of load they must support. It’s important to refer to load tables provided by manufacturers to ensure that the selected hanger can handle the weight and spacing of your joists. Also, consider whether your project is indoors or outdoors — galvanized or stainless-steel hangers are necessary for exterior use due to their resistance to moisture and corrosion.
Using the wrong size hanger can lead to structural failure over time. A hanger that is too small won’t cradle the joist properly, while one that's too large may not provide adequate bearing support. To prevent these issues, measure carefully and verify fit before purchasing materials. Additionally, you may need to consider compatibility with engineered wood products if they are part of your build.
Preparing the Installation Site
Once you have the correct hangers, making sure the installation area is ready will streamline the process. Preparation includes verifying dimensions, squaring up framing members, and marking placement.
Ensure that the ledger board or beam where the joist hangers will attach is level and securely fastened. Any warping or unevenness should be corrected prior to installation. Mark the positions of each hanger with a pencil, using a framing square to keep joists evenly spaced and aligned. This pre-marking step reduces errors during installation, especially when installing multiple hangers across a beam.
It’s also important to consider access to the area and the tools you’ll need. Working in tight spaces can increase difficulty, so having a plan for tool placement, fastener access, and joist maneuvering will save time and reduce frustration. If working at height or on uneven terrain, make sure to follow proper safety protocols before beginning.
Installing the Joist Hangers
Attaching the hangers is a straightforward but meticulous process. Proper fastening and alignment are essential for a secure fit.
Begin by placing the joist hanger in its marked position and checking for level and plumb. Use manufacturer-specified nails or structural screws to fasten the hanger to the ledger or beam. These fasteners are designed to handle shear forces and shouldn't be substituted with common nails, which may lack the necessary strength. Start with one side of the hanger, insert the fasteners, then secure the opposite side to ensure the hanger stays straight and snug against the mounting surface.
If the hanger comes with nailing holes for diagonal fasteners (often at the bottom or sides), don’t ignore them. These provide extra bracing and are important for the overall strength of the connection. Using a palm nailer or impact driver can make the process faster, especially when dealing with multiple hangers in a row. As each hanger is installed, double-check alignment with framing marks and adjust as needed before setting the joists.
Securing the Joists in Place
With the joist hangers mounted, the next step is to insert the joists and ensure they’re properly seated and fastened. This step directly impacts the strength and longevity of the structure.
Lift each joist and place it into its corresponding hanger. The joist should rest fully on the seat of the hanger and sit flush against the back plate, without tilting or gaps. Check for level across the tops of all joists as you proceed; inconsistent heights can lead to an uneven floor or deck. Any bowed or twisted joists should be corrected or replaced before fastening to avoid long-term structural issues.
Secure the joist to the hanger using the designated fastener holes in the sides of the hanger. Most models call for at least one toenail or screw at an angle through the joist into the hanger. These connections prevent the joist from lifting or shifting under load. Always follow the fastening guide provided with the hanger — skipping a connection point can compromise safety and negate warranties.
Inspecting and Finalizing the Installation
After all joists have been installed, a thorough inspection ensures everything is secure and up to code. This final step adds peace of mind and catches any overlooked issues.
Go through each hanger and check that all fasteners are fully driven and match manufacturer specifications. Look for any signs of movement, warping, or gaps between the joists and hangers. Use a level or straight edge to assess the alignment and elevation of the joists. If adjustments are needed, do them now before applying any load to the structure.
If your project requires a building inspection, make sure every part of the hanger installation meets local code. Inspectors often check for correct fastener types, full nail or screw patterns in each hanger, and general workmanship. Keep documentation of the hanger specifications on hand to speed up this process. Once inspection is passed, the framing is ready for decking, flooring, or whatever comes next in your build.
