How Attach Joist Hangers
Understanding the Role of Joist Hangers
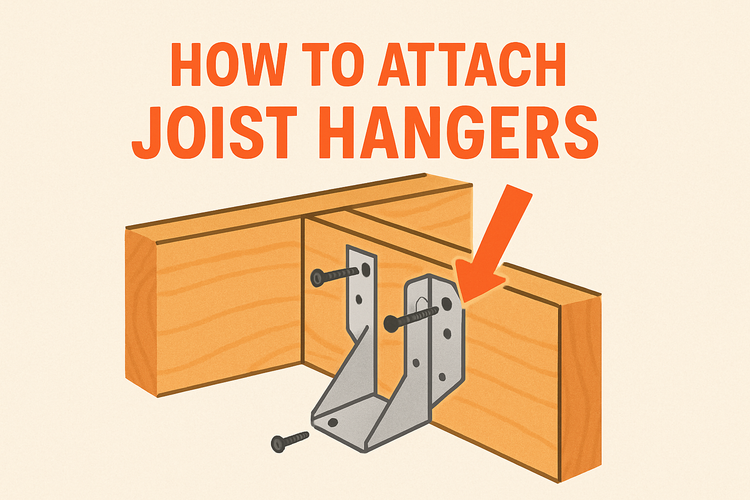
Joist hangers are critical in modern construction because they provide a secure way to connect joists to beams or ledger boards. They ensure structural stability by distributing loads evenly and preventing wood from splitting or sagging.
Whether you're building a deck, floor, or ceiling frame, using appropriate joist hangers helps create a stronger, safer structure. The use of these metal brackets allows for faster installation and better alignment compared to traditional nailing or notching methods. They come in various types, including face mount, top mount, and adjustable joist hangers, each suited for specific applications.
Joist hangers also help builders meet safety regulations and structural codes. They are especially useful in seismic or high-wind zones, where additional support is necessary. By using joist hangers rated for your specific build and loading requirement, you prolong the life of the construction and improve overall performance.
Choosing the Right Joist Hanger for Your Project
Selecting the correct joist hanger depends on the project’s design, load requirements, and type of timber used. Begin by matching the hanger’s dimensions to the width and height of the joists for a snug fit.
Additionally, consider the environmental conditions. For instance, galvanized or stainless steel joist hangers are ideal for outdoor use or damp conditions, providing corrosion resistance. Inside homes or in protected areas, standard hangers may suffice. Refer to manufacturer specifications and load tables to ensure compliance with building code instructions.
Compatibility with timber types is crucial, especially when working with engineered woods such as glulam or cross-laminated timber. Specific connectors for glulam timber or connectors for cross laminated timber may be preferred in such cases. These specialized hangers are manufactured to support the unique load characteristics and fastener needs of engineered wood structures.
Preparing Timber and Support Surfaces
Before installing joist hangers, it’s important to properly prepare the timber and supporting surfaces. This step plays a key role in ensuring the joint's durability and alignment.
Start by measuring and marking your joist layout with a pencil or chalk line, maintaining even spacing across the ledger or beam. Use a level to ensure the marks align horizontally, as uneven placement can undermine the structure’s integrity. For optimal results, pre-check the wood for warping or cracks and use straight, undamaged timber pieces wherever possible.
The supporting surface also needs attention. Whether mounting joist hangers to wood, masonry, or metal, always verify compatibility and ensure the surface is clean, dry, and free from debris to allow strong fastener penetration. In some builds where joists meet masonry surfaces, masonry connectors and wall ties might be required for added structural integration and support.
Using Screws and Nails for Maximum Strength
Proper fastening is essential when installing joist hangers. Using the wrong screws or nails can compromise the structure and even void product warranties or fail inspections.
Only use fasteners approved by the joist hanger manufacturer. Most joist hangers require specific nails or structural screws that are designed to resist shear and withdrawal forces. Avoid using drywall screws or random nails, as these are not designed to bear heavy loads or endure structural stresses over time. For best results, opt for approved options from the screws and nails collection, as they are tailored for timber connection applications.
In some cases, connectors come with pre-punched holes, which guide proper nail spacing and angles. Be sure to fill every hole designated for fastening. Missing out on even one fastener point can drastically reduce the hanger's rated load capacity. A handheld hammer or nail gun can be used, but be cautious to avoid bending or damaging the hanger during installation.
Installation Best Practices and Safety Tips
Installing joist hangers correctly helps maintain long-term structural performance and ensures compliance with all safety standards. Even though it's a relatively simple process, attention to detail is essential to avoid critical failures down the line.
A common best practice is to install the hangers before placing the joists, rather than trying to slide them in afterward. This ensures precious load is directly transferred from the joist into the structural support. Check that the hanger is flush against the beam and that no gaps are present. Secure both top and side flanges with the recommended number of fasteners to create a rigid connection.
Consider using additional support hardware depending on environmental and structural needs. For example, if your build is located in a high-wind region or will bear considerable weight, integrating high wind ties & timber connectors can significantly enhance stability. Always wear protective gear when cutting, drilling, or fastening, and follow standard construction site safety protocols to prevent injury.